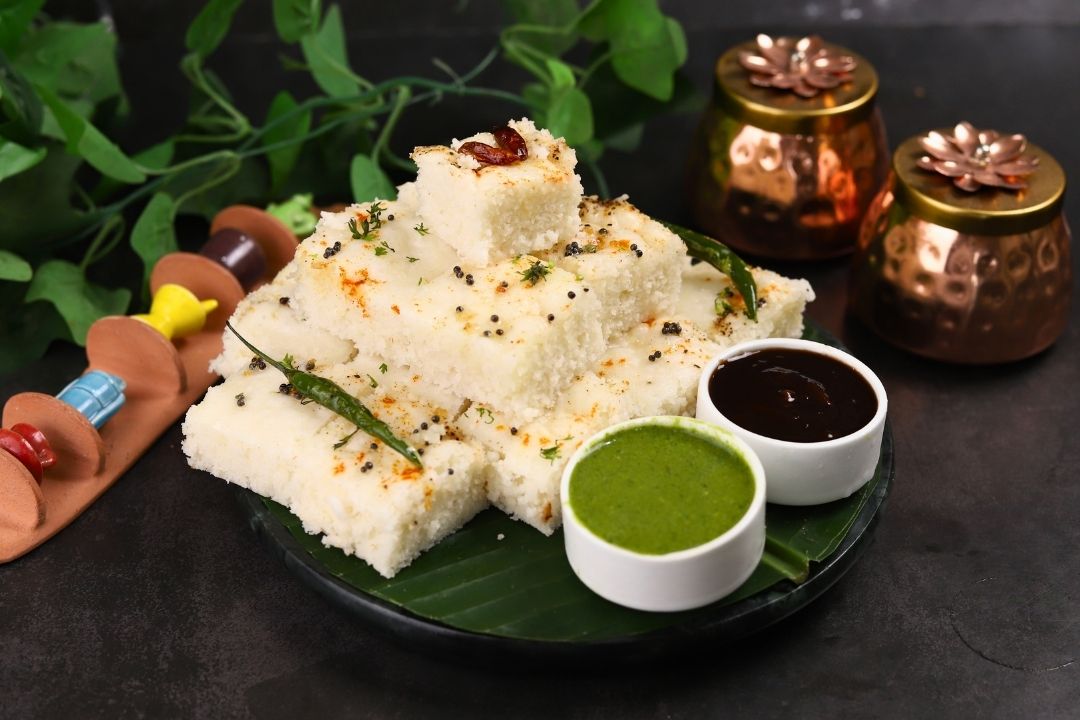
Rice Flour Dhokla and Chutney
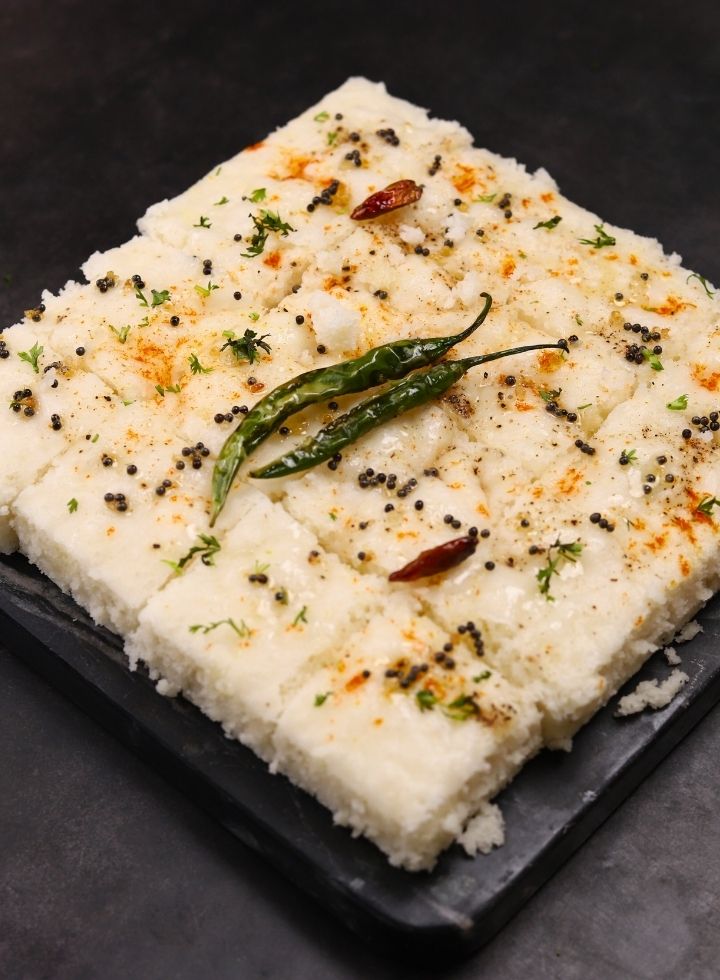
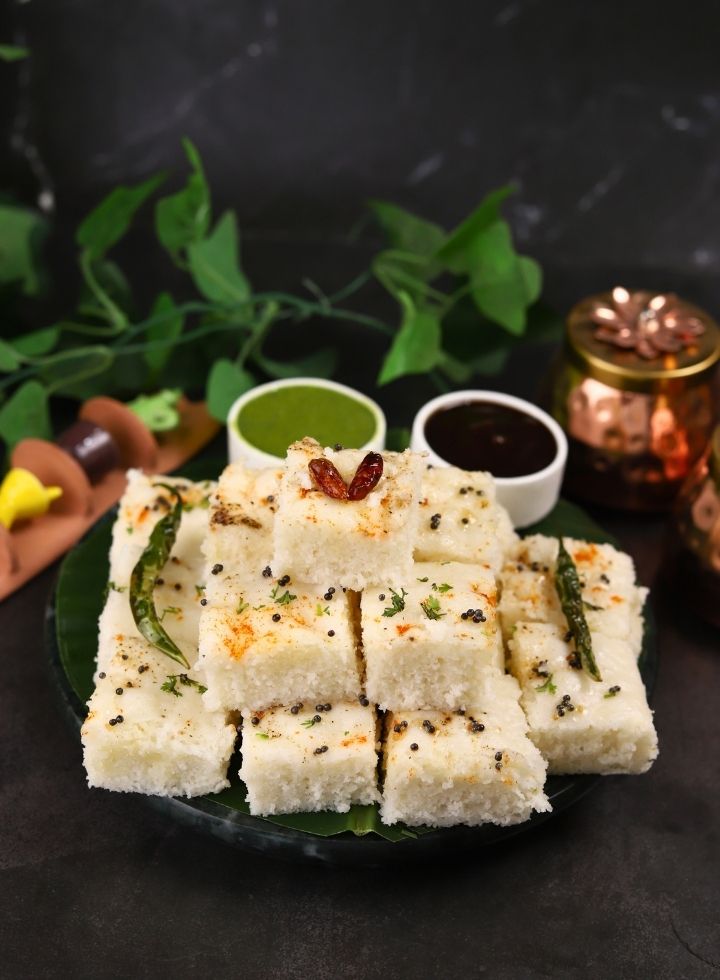
Today’s recipe is rice flour dhokla and chutney. This has the exquisite flavour and melt-in-your-mouth texture. It is a beloved steamed savoury cake originating from Western India. Unlike the traditional gram flour (besan) version, rice flour primarily makes up this variant, giving it a unique, lighter, and exceptionally spongy consistency. You enjoy it guiltfree as it is a healthy, low-oil, and gluten-free (if pure rice flour is used) snack, breakfast, or side dish.
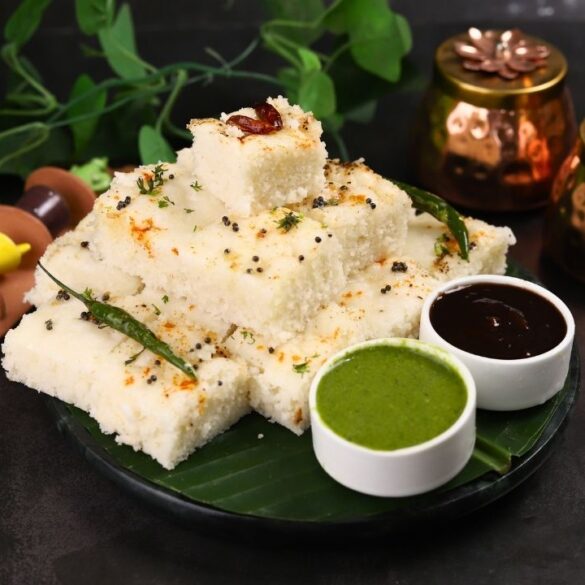
Curd, primarily a souring and fermenting agent, is added to these soft, porous squares. Its addition means the curd dominates the dhokla’s flavour with its tang and savoury-sour taste, leaving very few aromatic spices to contribute. A sizzling tempering (tadka) of mustard seeds, curry leaves, and asafoetida poured generously over the top completes the magic. This is a very easy, simple and no fail recipe. It turns out nice, white, spongy and fluffy and chutney adds nice taste and flavor to it.
Recommended Recipes
- Easy and Quick Sandwich Dhokla – Marathi Recipe
- Soft and Fluffy Nylon Dhokla – Marathi Recipe
- Quick Breakfast Pohe Dhokla – Marathi Recipe
- Rava Dhokla– Marathi Recipe
- Idly Dhokla – Marathi Recipe
Some Interesting facts about Rice Flour Dhokla and Chutney :-
Forget the bright yellow, grainy besan (chickpea flour) version you might know. This is its quieter, more subtle cousin—the white dhokla, often called Khatta Dhokla due to the gentle, addictive tang. And then, there is the chutney. The chutney always accompanies dhokla. Its partner is a vibrant, zesty green paste—the quintessential Coriander and Mint Chutney. This combination always delights at a kitty party, a family gathering, a larger party, or even a small informal gathering!
Recipe Video
Servings
This is a good alternative to regular besan dhokla. Serve our White Dhokla pieces warm, generously drizzled with the tempering, alongside a bowl of the electric Pudina Chutney. It’s the ultimate vegan and gluten-free savory treat—perfect for breakfast, an afternoon tea snack, or a light dinner.