Instant Rava Papad – Marathi Recipe

By: MadhurasRecipe
0 Comment 1865 Views
Instant Rava Papad - Marathi Recipe
5
(1)

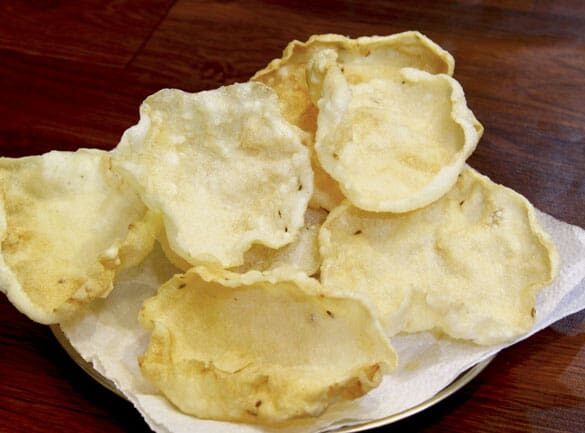
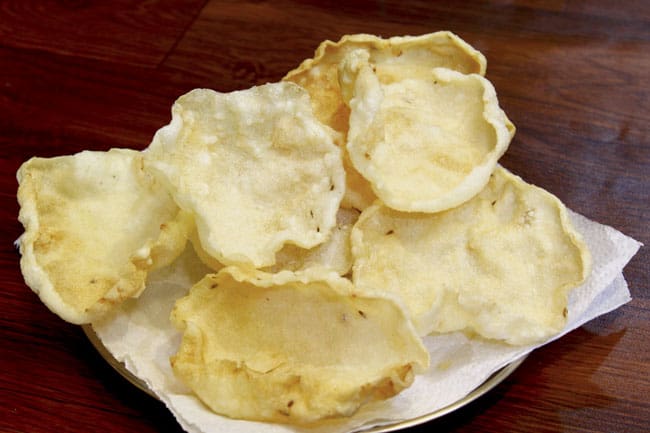
Rava papad is a very easy and simple recipe. This quick recipe can be made from those ingredients easily available in your kitchen. You don’t need to soak, dry, or make flour of rice. Just cook Rava and the sal papad is ready. Do try this hassle-free recipe and drop a comment for me. You also can like, share, and subscribe.

Instant Rava Papad - Marathi Recipe
Print Recipe
Nutrition facts: 200 Calories 20 grams Fat
Rating: 5.0/5
( 1 Votes )

Ingredients

  • 1 cup Fine Rava / Semolina
  • 4 cups Water
  • 1 tsp Cumin seeds
  • Salt to taste
  • 1 tsp Oil

Instructions

  • Heat up water in a pan. Add salt and bring it to boil.
  • When water begins to boil add cumin seeds and oil.
  • Do not add cumin seeds along with salt as the water may turn blackish due to cumin seeds.
  • Add a little rava at a time and stir well.
  • No lumps of rava should be formed.
  • Cook rava on very low heat stirring continuously.
  • If the mixture thicken up immediately after adding rava or if you feel more water is required then add hot water.
  • When rava is cooked, the mixture becomes nice, even and smooth it is ready to roll into papad.
  • Spread a plastic paper. You can grease it well with a little oil if you want.
  • You can use silicon sheet too in place of plastic paper.
  • Do not use wooden board as it becomes difficult to take the papad off it.
  • Keep the gas on over very low heat while rolling papad so that no lumps of rava will be formed.
  • Add a spoonful mixture on the paper and spread it evenly.
  • Dry the papad under hot sun for about 2 days.
  • Rava papad are already.
  • Store these papad in airtight container in cool and dry place.
  • You can dry these papad under fan too.
  • Just give the papad some time to settle after spreading on plastic paper.
  • Or the papad will spread everywhere due to force of the fan.
  • Once the papad settle a little, dry a little transfer them under the fan and let them dry.

Recipe Video

How useful was this post?

Click on a star to rate it!

Average rating 5 / 5. Vote count: 1

No votes so far! Be the first to rate this post.

As you found this post useful...

Follow us on social media!

We are sorry that this post was not useful for you!

Let us improve this post!

Tell us how we can improve this post?

You May Also Cook

Subscribe
Notify of
guest
0 Comments
Inline Feedbacks
View all comments
0
Would love your thoughts, please comment.x
()
x